Starting with PsychoPy
PsychoPy, Python, experimental psychology, tutorial, installation, DevStart, developmental science, Spyder ide, Spyder
PsychoPy is an open-source software package written in the Python programming language primarily for use in neuroscience and experimental psychology research. It’s one of our favorite ways to create experiments and we will use it through our tutorials.
So, let’s start and install PsychoPy!!!
Install PsychoPy
As reported on the PsychoPy website, there are multiple ways to install PsychoPy. Our favorite way to install it is using conda/mamba (refer to the Getting started with python).
This installation method offers several advantages: you are not restricted to using the PsychoPy GUI, and you can easily add libraries to enhance PsychoPy’s functionality. However, this process can sometimes be challenging, as compatibility issues with certain packages may require troubleshooting. Here, we provide some tips to help you make it work. If you find this method too complex or encounter persistent issues, remember that you can always follow the tutorials on this site using the PsychoPy standalone installer, which provides a secure and reliable way to use PsychoPy.
Miniconda/Miniforge
We recommend installing PsychoPy in a dedicated virtual environment where you can create and run your studies. To ensure optimal performance and avoid compatibility issues, keep this environment as clean as possible. Ideally, install PsychoPy and only the additional libraries required for your study. For any other libraries, for example for analysis, consider creating separate environments to prevent conflicts with PsychoPy
On windows python 3.8 seems to be a safe bet. Create a new environment:
conda create -n psychopy python=3.8Remember if you have installed minforge instead of miniconda you can use mamba and conda interchangeably for these steps.
once done we actually need to install psychopy in this new environment. Let’s do that, activate the environment and just type pip install psychopy :
conda activate psychpy
pip install psychopy
On Mac Python 3.10 seems to work better. Thus create a new environment:
conda create -n psychopy python=3.10Remember if you have installed minforge instead of miniconda you can use mamba and conda interchangeably for these steps.
once done we actually need to install psychopy in this new environment. Let’s do that, activate the environment and just type pip install psychopy :
conda activate psychpy
pip install psychopy
It may take some time and require your confirmation during the process, but eventually, the setup will complete. Once finished, your psychopy environment will include the PsychoPy library, allowing you to import it easily using import psychopy
If you are planning to use Spyder as your Ide to interact with PsychoPy you require an additional library to interact with Spyder
You can install it by:
conda install spyder-kernels
or
pip install spyder-kernels
In case you need more information please check our python installation guide
Psychopy Standalone
If you’re unable to install PsychoPy using conda/mamba or simply prefer a reliable setup with access to the intuitive PsychoPy GUI, the standalone installer is a great option.
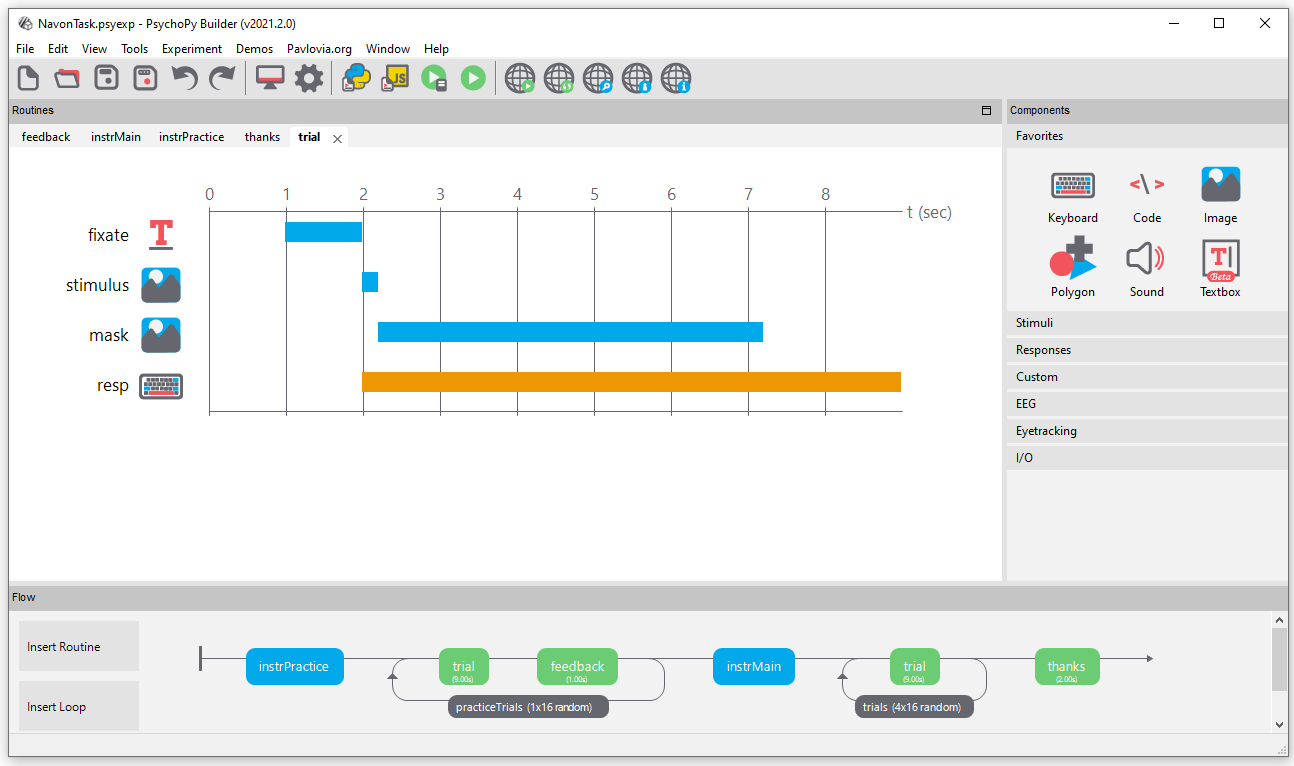
However, it’s important to note that PsychoPy offers two main ways to create experiments:
The Builder: Ideal for those who prefer a graphical, point-and-click interface.

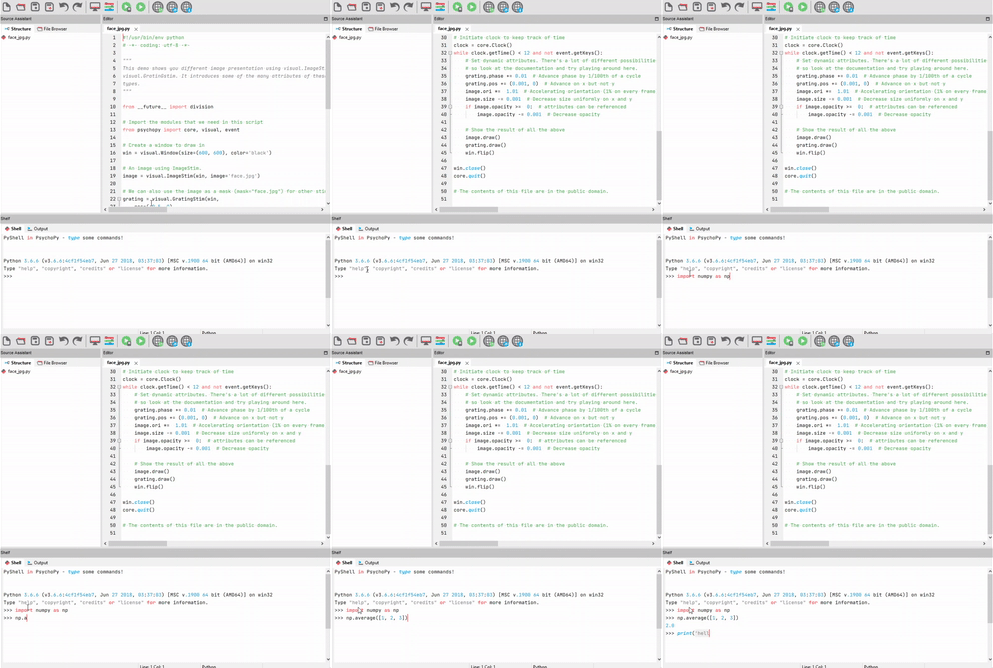
The Coder: Designed for users who prefer to program their experiments from scratch.

In our tutorials, we will focus on coding experiments directly. If you’re using the PsychoPy standalone installer, you’ll need to follow along using the Coder interface.
